A Step-by-Step Guide on How to Remove Tiles in Your Home
Posted by Siphesihle Hato in How To Guides

Whether you’re looking to update the aesthetics of your home or need to replace damaged tiles, knowing how to remove tiles correctly is an essential skill. While the task may seem daunting, with the right tools and approach, you can successfully remove tiles without causing extensive damage to the underlying surface. In this article, we’ll provide you with a step-by-step guide on how to remove tiles in your South African home.
Tools and Materials You’ll Need
Before you begin, gather the following tools and materials:
- Safety Gear: Safety goggles, gloves, and a dust mask to protect yourself from debris and dust.
- Chisel: A flat chisel with a wide blade for tile removal.
- Hammer: A medium-sized hammer for tapping the chisel.
- Utility Knife: For cutting away any sealant or caulk around the tiles.
- Pry Bar: A pry bar or flat bar for leverage when removing tiles.
- Bucket: To collect and dispose of broken tile pieces.
- Drop Cloth: To protect the surrounding area from debris.
Step 1: Prepare the Work Area
Before you start removing tiles, it’s essential to prepare the work area:
A. Clear the room of furniture and other obstacles.
B. Lay down a drop cloth to catch debris and protect the floor.
C. Ensure good ventilation or use a dust extractor to minimize dust inhalation.
 Step 2: Remove Grout
Using a utility knife, carefully cut away the grout lines surrounding the tiles you intend to remove. Be cautious not to damage the neighboring tiles. This step is crucial as it weakens the bond between the tiles and the substrate.
Step 3: Safety Precautions
Put on your safety gear, including goggles, gloves, and a dust mask, before proceeding. Safety should always be a priority when working with tools and tiles.
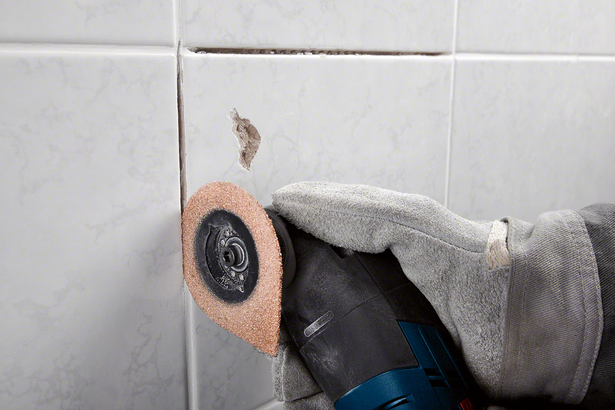
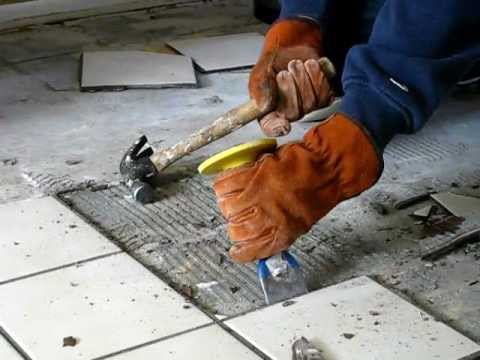
Step 4: Begin Tile Removal
Start by inserting the chisel at the edge of the first tile you want to remove. Use the hammer to gently tap the chisel, gradually creating space between the tile and the substrate. Work your way around the tile’s edges, continuing to tap and pry until it becomes loose.
Step 5: Removing the Tile
Once you’ve loosened the tile, use the pry bar to carefully lift it away from the surface. Be cautious not to damage the underlying substrate, such as drywall or cement board. If the tile is stubborn and doesn’t come off easily, you may need to use more force, but do so cautiously to avoid causing excessive damage.
Step 6: Clean the Substrate
After removing the tile, you’ll likely have residual adhesive or thin-set on the substrate. Use the chisel to scrape away the remaining adhesive, taking care not to gouge or damage the surface.
 Step 7: Repeat the Process
Continue the above steps for each tile you want to remove. It’s a time-consuming process, but patience and careful work will yield the best results.
Step 8: Dispose of Debris
As you remove tiles, place the broken pieces in a bucket for disposal. Tiles can be sharp, so handle them with care.
Step 9: Clean and Prepare for New Tiles
Once all the tiles are removed, clean the substrate thoroughly to ensure it’s smooth and free of debris. You’re now ready to install new tiles or make any necessary repairs to the substrate.
Removing tiles in your South African home can be a DIY project with the right tools and knowledge. By following this step-by-step guide, you can efficiently remove tiles while minimizing damage to the underlying surface. Remember to prioritize safety throughout the process, wear appropriate protective gear, and take your time to ensure a successful tile removal job in your South African home.
Comments
Add comment