Mastering the Basics: A Step-by-Step Guide on How to Strip Wire

Whether you’re an experienced electrician or a DIY enthusiast tackling a home improvement project, knowing how to strip wire is an essential skill that can come in handy in a variety of situations. From installing new light fixtures to repairing electrical appliances, properly stripping wire ensures a secure and reliable connection. In this blog post, we’ll provide a step-by-step guide on how to strip wire like a pro.
Understanding the Basics
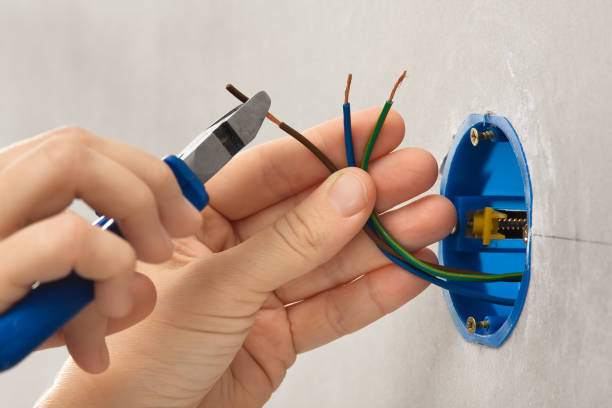
Before we jump into the stripping process, let’s take a moment to understand the basics of wire stripping. Wire stripping is the process of removing the insulation from the ends of electrical wires to expose the metal conductor underneath. This allows for a clean and secure connection to be made with other wires, terminals, or electrical components.
 Tools You’ll Need
To strip wire effectively, you’ll need the following tools:
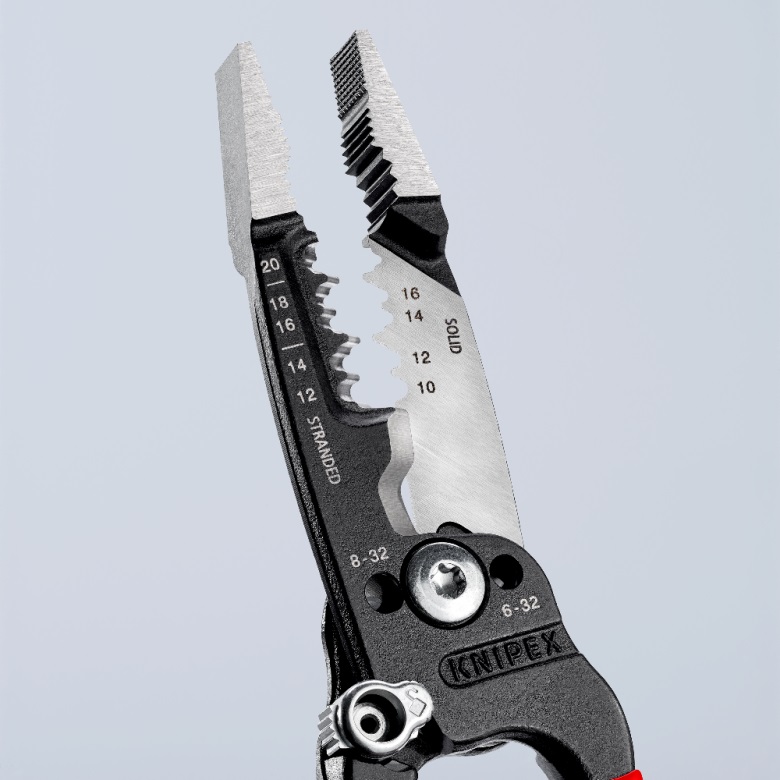
- Wire Strippers: These specialized tools are designed specifically for stripping wire. They feature multiple cutting and stripping holes of varying sizes to accommodate different wire gauges.
- Utility Knife: In a pinch, a sharp utility knife can also be used to strip wire. However, this method requires more precision and care to avoid damaging the wire conductor.
 Step-by-Step Guide
Now that you have your tools ready, let’s dive into the wire stripping process:
- Select the Right Size Hole: Start by selecting the appropriate hole on your wire strippers for the size of wire you’re working with. The hole should be slightly larger than the diameter of the wire insulation.
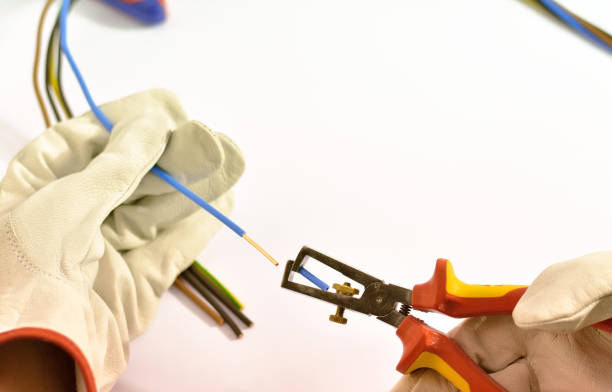
- Insert the Wire: Insert the end of the wire into the selected hole on the wire strippers, making sure to position it so that only the insulation is captured by the cutting blades.
- Squeeze and Rotate: Squeeze the handles of the wire strippers firmly to engage the cutting blades, then rotate the strippers around the circumference of the wire to score the insulation.
- Remove the Insulation: Once the insulation has been scored, carefully pull it away from the wire conductor. If necessary, use your fingers or a pair of pliers to grip and remove the insulation.
- Inspect the Conductor: After stripping the wire, inspect the exposed conductor to ensure that it is intact and free from damage or nicks. If any damage is detected, trim the wire back and strip it again.
Safety Tips
When stripping wire, it’s important to take safety precautions to avoid injury. Here are some tips to keep in mind:
- Always disconnect the power source before working with electrical wiring to prevent electric shock.
- Wear safety goggles to protect your eyes from flying debris.
- Use caution when handling wire strippers and utility knives to avoid cuts and injuries.

Stripping wire is a fundamental skill that every DIY enthusiast should master. Whether you’re installing new electrical outlets or repairing a damaged extension cord, knowing how to strip wire properly ensures a safe and reliable connection. By following the steps outlined in this guide and taking the necessary safety precautions, you can strip wire like a pro and tackle any electrical project with confidence. So why wait? Grab your wire strippers and start stripping – the possibilities are endless!
Comments
Add comment