Revamp Your Home with DIY Shelving Solutions
Posted by Siphesihle Hato in How To Guides

Are you looking to add a personal touch to your home décor while maximizing your storage space? Custom shelving units are a fantastic way to achieve both goals. With the right tools and materials, you can create beautiful and functional shelves that fit your unique style and needs. In this guide, we’ll walk you through the process of building your own custom shelving units using power tools and materials from Builders.Tools4.
 Getting Started: Planning Your Shelves
Before diving into the construction, it’s crucial to plan your shelving project. Here are some key steps to get you started:
- Determine Your Needs
Consider what you’ll be storing on the shelves and where they will be installed. Do you need shelves for books, decorative items, kitchen supplies, or garage tools? The purpose of the shelves will influence their size, material, and design.
- Measure Your Space
Accurate measurements are essential for a successful project. Measure the width, height, and depth of the area where you plan to install the shelves. Note any obstructions, such as windows or doors, that might affect the installation.
- Choose Your Materials
Selecting the right materials is vital for both the durability and aesthetics of your shelves. Builders.Tools4 offers a wide range of materials, including:
- Plywood: Ideal for sturdy, budget-friendly shelves.
- Hardwood: Perfect for a high-end, polished look.
- Metal: Great for industrial-style shelves or heavy-duty storage.
Essential Tools for DIY Shelving
Having the right tools makes the job easier and ensures professional results. Here’s a list of power tools and accessories you’ll need, all available at Builders.Tools4:
- Circular Saw: For cutting wood to the desired size.
- Power Drill: Essential for making holes and driving screws.
- Jigsaw: Useful for cutting shapes or curves.
- Sander: To smooth out wood surfaces.
- Level: Ensures your shelves are perfectly horizontal.
- Measuring Tape: For precise measurements.
- Screws, Nails, and Brackets: To secure the shelves in place.
- Stud Finder: Helps locate wall studs for secure mounting.
Step-by-Step Guide to Building Your Shelves
Step 1: Cut the Wood
Using your circular saw, cut the wood to your desired shelf dimensions. If your design includes any curves or unique shapes, use the jigsaw for precision cutting. Remember to wear safety goggles and follow all safety guidelines when operating power tools.
Step 2: Sand the Edges
Smooth the cut edges of your wood with a sander. This step ensures a clean finish and prevents splinters. Start with a coarse grit and finish with a finer grit for a polished look.
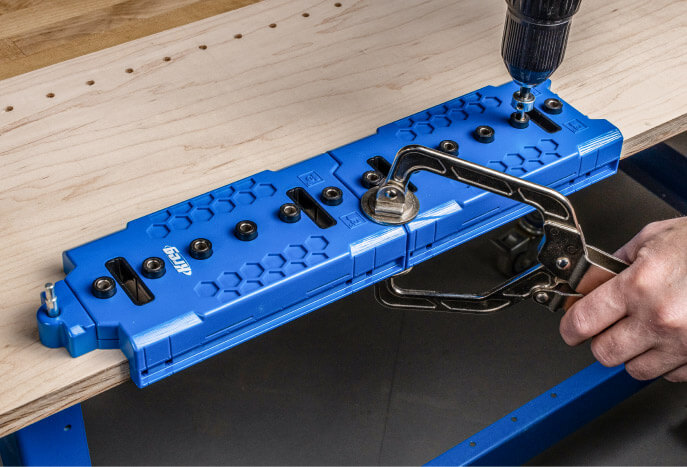
Step 3: Drill Holes for Brackets
Mark the positions for your brackets on both the wood and the wall. Use a level to ensure they are aligned properly. Pre-drill holes for the screws to prevent the wood from splitting.
Step 4: Install the Brackets
Using your power drill, attach the brackets to the wall. If you’re installing shelves on drywall, make sure to use wall anchors for added support. For heavier loads, drill into wall studs.
Step 5: Mount the Shelves
Place your cut and sanded wood on the mounted brackets. Secure the shelves to the brackets with screws, ensuring everything is tightly fastened and level.
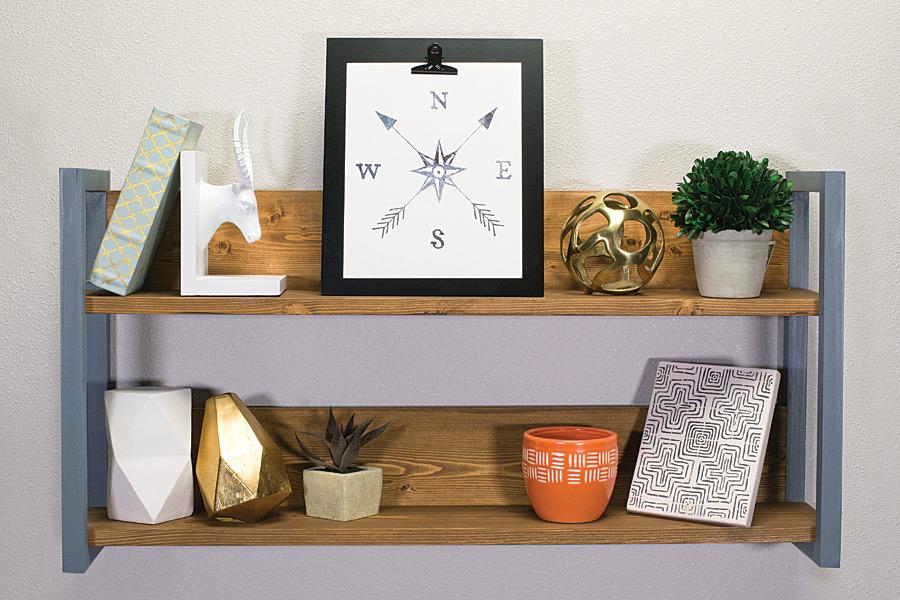
Step 6: Finishing Touches
Once your shelves are securely mounted, you can paint or stain them to match your home décor. Consider adding a sealant for extra durability, especially in humid areas like kitchens or bathrooms.
Tips for Success
- Double-Check Measurements: Measure twice, cut once to avoid costly mistakes.
- Quality Materials: Invest in high-quality materials for longevity.
- Safety First: Always wear protective gear and follow safety instructions for power tools.
Creating custom shelving units is a rewarding project that can enhance the functionality and appearance of your home. With a bit of planning, the right tools, and quality materials from Builders.Tools4, you can build shelves that perfectly suit your space and style. So roll up your sleeves, grab your tools, and get started on your DIY shelving project today!
Comments
Add comment